Getting Started – Creating Tasks
The Interactive guide below shows how to create a task through your dashboard Day Plan system, which is similar to what we go through in the article below. Use arrow keys to scroll between steps.
Intro
In this example, we will run through a very simple task – “Make a Cup of Tea”
The process to follow should give you a thorough enough grounding to get the most out of DayViewer.
We recommend opening a new browser tab follow the steps along. It should take less than 5 minutes to complete this.
NB: Steps 1-3 of this tutorial do not require a pro account – but for Step 4 to see the entry in table view you will need a pro trial or have access to a team room account.
Step 1
After logging into DayViewer, Select Tasks in the Side Panel Menu
If you are on a desktop you will see an in-line form along the top of the main layout – this is the Quick Entry form. (on mobile, the quick entry will drop down when you click the button )
Enter “Make a Cup of Tea” as the Title, as shown in the image below. You can set any date and time you wish, and also any duration of your choice – in the example we select 15min as the duration. Click ADD button to create the Task Entry.

The following images show where your new entry will be available


Step 2
Great, Now let’s add some more details, maybe we need a procedure so that in the event of this being a Team Task, everyone will know how to make a perfect cup of tea using the same method. Let’s do this by going back to the Tasks Card View area.
Next Click on the Edit Icon – as shown in the image below

The edit form will open as shown below, once opened, you will see that it is populated with that tasks information. We want to add a list to this task – so we select the List tab on the form.

Step 3
Next we need to fill out the form with our procedure, simply copy a few list items as shown in the image below (or make up your own!)

Once that is all done, click Save button and you will return to the Task Cards View
All done, we now have a full task with a procedure all set up!

Step 4
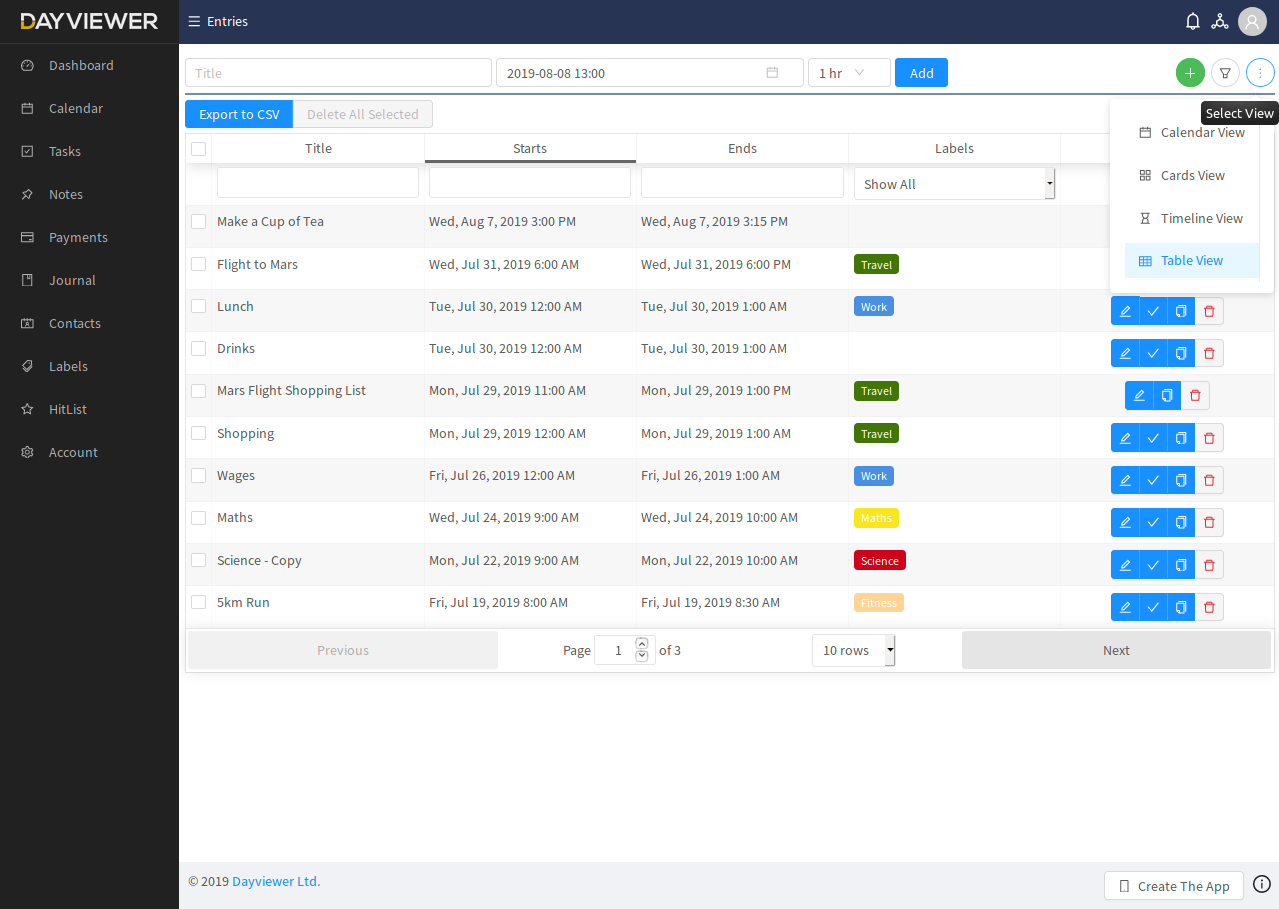
Let’s have a quick look at the calendar and some of the views available. Go into your Calendar Menu and check through all the view types. Below is how the Table (Alt) will look.
Summary
It’s as easy as that. Play about with this task and the various calendar views, don’t delete it yet though!… In the next tutorial we will use this example to create a shopping list for the ingredients, attach a label, attach an image to the note & task and set it as a recurring task!.
Note that many of the following tutorials require DayViewer Pro features, you can read on to see how everything works together or alternatively trial Pro. Team Room members can follow along in their team room without requiring to go Pro.